Upgrading to Windows 11 involves checking system requirements, creating a bootable USB, performing the installation, and customizing settings to enhance your computing experience.
Upgrading to Windows 11 can transform your computing experience with fresh features and improved performance. Are you ready to dive in?
Preparing your Windows 10 PC for the upgrade

Preparing your Windows 10 PC for the upgrade to Windows 11 is crucial for a smooth transition. Start by ensuring that your system meets the necessary requirements.
Check System Requirements
Windows 11 comes with specific system requirements. Verify that your CPU, RAM, and storage meet these specifications. You can find this information in the Settings app under System > About.
Update Windows 10
Before upgrading, ensure your current version of Windows 10 is up-to-date. Go to Settings > Update & Security > Windows Update and click Check for updates. Install any available updates to enhance system performance.
Backup Your Data
It’s always a good idea to back up your important files before making significant changes. Use an external drive or a cloud service to secure your documents, photos, and other essential data.
Free Up Space
Check your disk space. Windows 11 requires at least 64 GB of free space. Delete unnecessary files or programs to ensure you have enough room for the upgrade.
Consider Compatibility
Not all software is compatible with Windows 11. Review your critical applications and check if they have seen updates or replacements. Reach out to the application’s support or website for compatibility information.
Checking system requirements and compatibility

Creating a bootable USB for installation
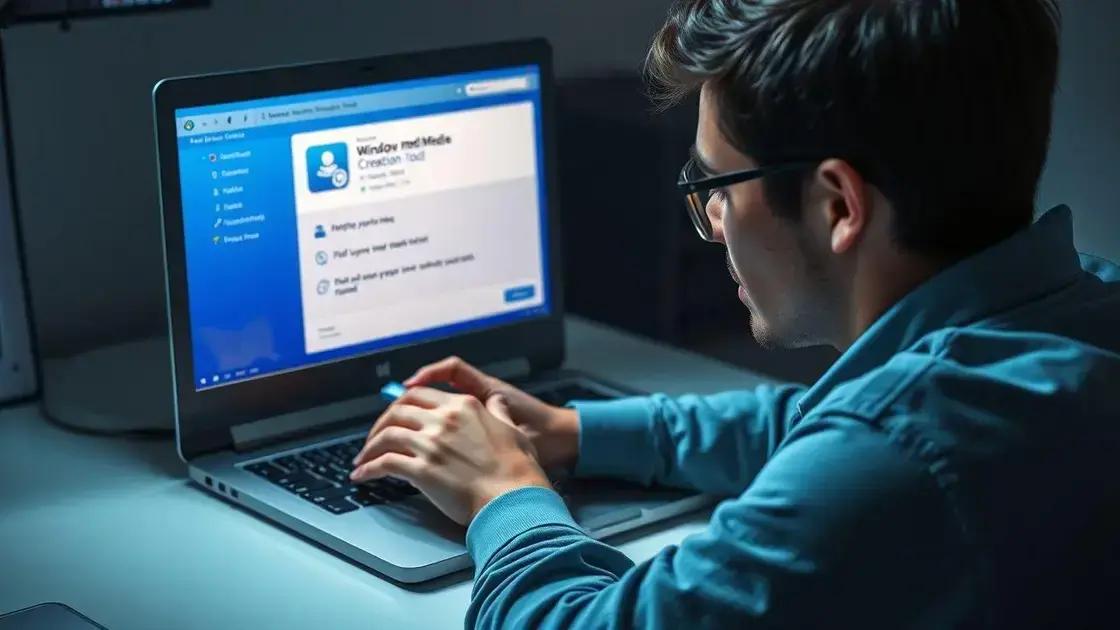
Creating a bootable USB for installation is an essential step for upgrading to Windows 11. This process allows you to install the operating system directly from the USB drive.
Gather Required Tools
First, you will need a USB flash drive with at least 8 GB of storage. Ensure that this drive is empty or that you have backed up any important files since it will be formatted during the process.
Download the Windows 11 Media Creation Tool
Next, visit the Microsoft website to download the Windows 11 Media Creation Tool. This tool simplifies the process of creating a bootable USB.
Run the Media Creation Tool
Open the downloaded tool and accept the license terms. Select the option to create installation media (USB flash drive, DVD, or ISO file) for another PC. Click Next to proceed.
Select Language and Edition
You will be prompted to choose the language and edition of Windows 11. Ensure you select the correct options that match your needs. Click Next to continue.
Choose USB Flash Drive
Select USB flash drive as the media you want to create. The tool will display a list of USB drives connected to your computer. Choose the correct drive and click Next to start the process.
Complete the Creation Process
The tool will now download Windows 11 and create a bootable USB drive. This process may take some time, depending on your internet speed. Once finished, you will see a message indicating that your USB drive is ready.
Performing the upgrade process step by step
Performing the upgrade process from Windows 10 to Windows 11 requires careful steps to ensure a successful installation. Follow these steps to upgrade your system smoothly.
Insert the Bootable USB Drive
Start by inserting the bootable USB drive that you created earlier into a USB port on your computer. Make sure your PC is set to boot from the USB drive.
Access the Boot Menu
Restart your computer and access the boot menu. This can usually be done by pressing a specific key during startup, such as F12 or Esc. Select the USB drive as your boot device.
Begin Installation
After booting from the USB, the Windows installation screen will appear. Follow the prompts to select your language and other preferences. Click Next to continue.
Accept License Agreement
You will need to accept the license agreement to proceed. Read through it and click the checkbox to agree, then click Next.
Select Upgrade Option
When prompted, choose the option to upgrade your existing Windows installation. This option will keep your files and applications intact, making the transition easier.
Installing Windows 11
The installation process will now begin. This may take some time, and your PC may restart several times. Be patient as Windows 11 installs on your computer.
Complete Setup
Once the installation is complete, you will be guided through the setup process, which includes selecting your region and setting up a Microsoft account. Follow the on-screen instructions to finalize your installation.
What to do after upgrading to Windows 11
After upgrading to Windows 11, there are several important steps to ensure your system runs smoothly and efficiently.
Check for Updates
Once the installation is complete, check for the latest updates. Go to Settings > Update & Security > Windows Update and click on Check for updates. This ensures you have the latest features and security patches.
Customize Your Settings
Take some time to customize your settings according to your preferences. Explore the new Settings app to adjust privacy settings, display options, and other system preferences.
Reinstall or Update Applications
Some applications may need to be updated or reinstalled to work correctly with Windows 11. Check the Microsoft Store or the software’s official website to get the latest versions.
Explore New Features
Windows 11 includes many new features and enhancements, such as the redesigned Start Menu and improved multitasking options. Take some time to explore these features to make the most of your upgrade.
Set Up File Backup
Ensure your files are backed up regularly. Use built-in tools such as File History or OneDrive to keep your important data safe and accessible.
In conclusion, preparing for and upgrading to Windows 11 can enhance your computing experience
By following the necessary steps, from checking system requirements to performing the upgrade, you can ensure a smooth transition.
After the upgrade, it’s important to explore the new features, customize your settings, and keep your software updated.
With the right approach, Windows 11 can help you be more productive and enjoy a modern user interface, making your daily tasks easier.
Embrace the new operating system and make the most out of the features it offers!
FAQ – Frequently Asked Questions about Upgrading to Windows 11
What are the system requirements for upgrading to Windows 11?
To upgrade to Windows 11, your PC needs a compatible 64-bit processor, at least 4 GB of RAM, and 64 GB of storage space.
How do I create a bootable USB for Windows 11 installation?
You can create a bootable USB using the Windows 11 Media Creation Tool, which allows you to download the installation files and transfer them to a USB drive.
What should I do if my PC is not compatible with Windows 11?
If your PC does not meet the requirements, consider upgrading your hardware or continuing to use Windows 10, which is still supported.
How can I customize settings after upgrading to Windows 11?
After upgrading, go to the Settings app to adjust preferences such as privacy settings, display options, and system notifications.
Do I need to reinstall applications after upgrading to Windows 11?
Some applications may need to be updated or reinstalled to work properly with Windows 11. Check for updates after the upgrade.
What new features should I explore in Windows 11?
Explore the redesigned Start Menu, virtual desktops, improved multitasking features, and enhanced performance optimizations in Windows 11.


 Microsoft account vs local account: Which is best for you?
  Windows 11: Discover How to Remove Pre-installed Microsoft Store Apps
  Windows 11 Reigns Supreme: Why Upgrading is Crucial Now